Showing posts with label PRINTING TIPS. Show all posts

14.6.12

Home-Made Gripper Bar


Missing a gripper bar on your small proofing press well Alan from The Hedgehog Press has come up with a brilliant idea!
I've a gripper bar, paper feed tray and a side lay gauge on the large Farley but on my smaller S&B proofing press there's nothing which I find very frustrating if I need to position more accurately!
Alan has kindly uploaded a large file to flickr so you can zoom in on the detail and written a description with added notes on the photo, which you can read HERE.
A clipboard spring and part of a bulldog clip, brilliant! I think even I can manage to make one, when I do I'll photograph the process.
Thanks to Alan for a very innovative idea, don't you think?

12.2.11

Testing paper on the Adana 8x5

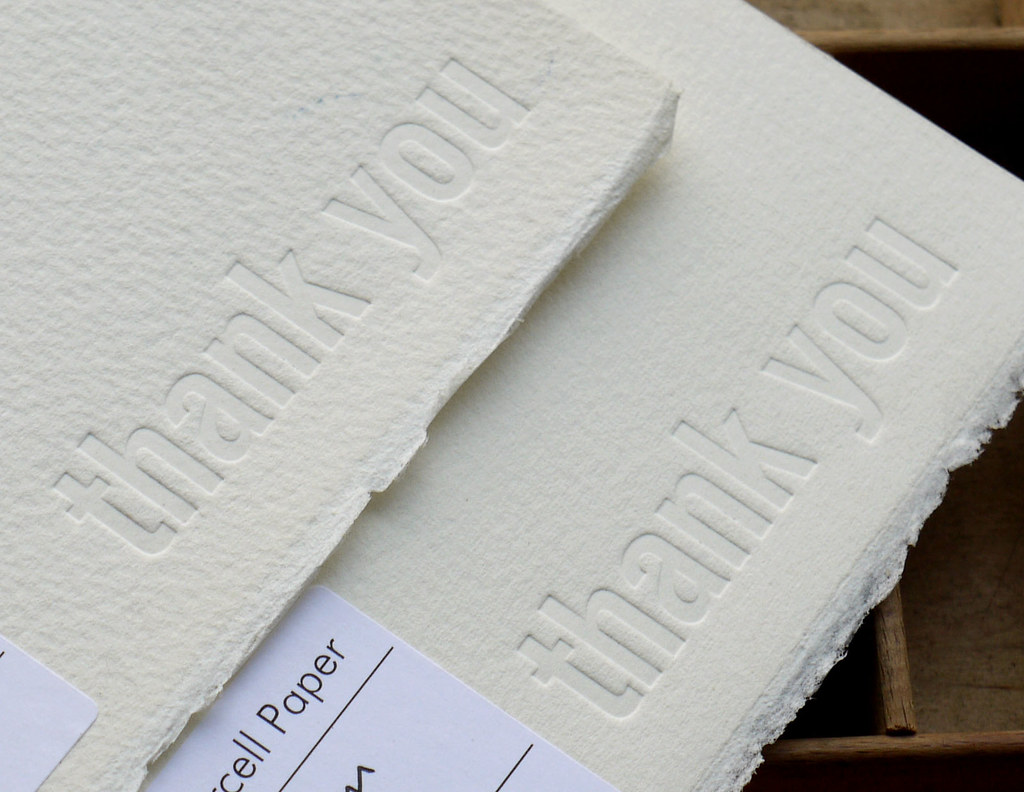
Saunders Waterford cotton 300g Rough and 300g NOT, printed with some 60pt Gothic Condensed which measures 78mm x 20mm using hard packing.
I get lots of emails of Adana owners who can't get impression, well you can get a very good impression on a 8x5 press without using extreme force, but bare in mind the size of your text or block. A good way to get a feeling of what your Adana is capable of is to practice locking up different sizes of type and illustration blocks and printing without ink (blind impression).
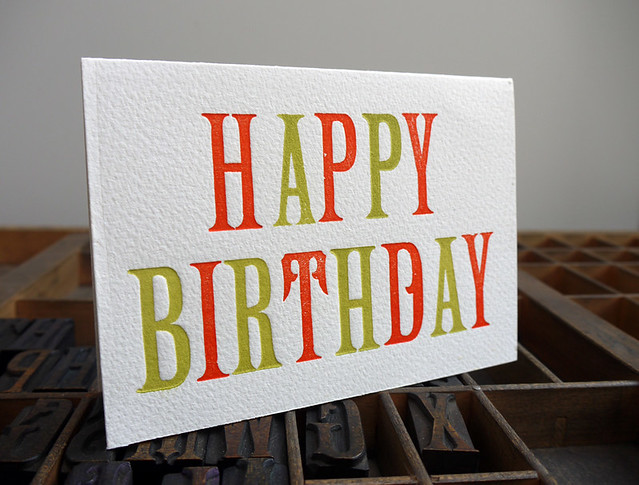
The A6 card below is printed with wood type on the Adana 8x5 but the only way to get 
an impression was to split into two colours that way pressure is displaced not in one solid area. Also bare in mind this will eventually lead to well worn blocks as you are pushing into the paper, the wood type used here is well worn so the impression is not as crisp.


Printed on 300g Somerset Rough 100% cotton

Lots of water colour paper is good for printing on, the better it is the more expensive! Bockingford is a less expensive range but still good quality, your local art suppliers will stock plenty of ranges to experiment with before trying out more expensive papers like Cranes Lettra.
It's also worth noting that all the lovely letterpress work knocking around on the internet has been done mostly on larger presses that really pack a punch, your Adana hasn't got the same pressure but treat it kindly and don't ask to much at once and you'll get some lovely results ;D

2.2.11

play with type

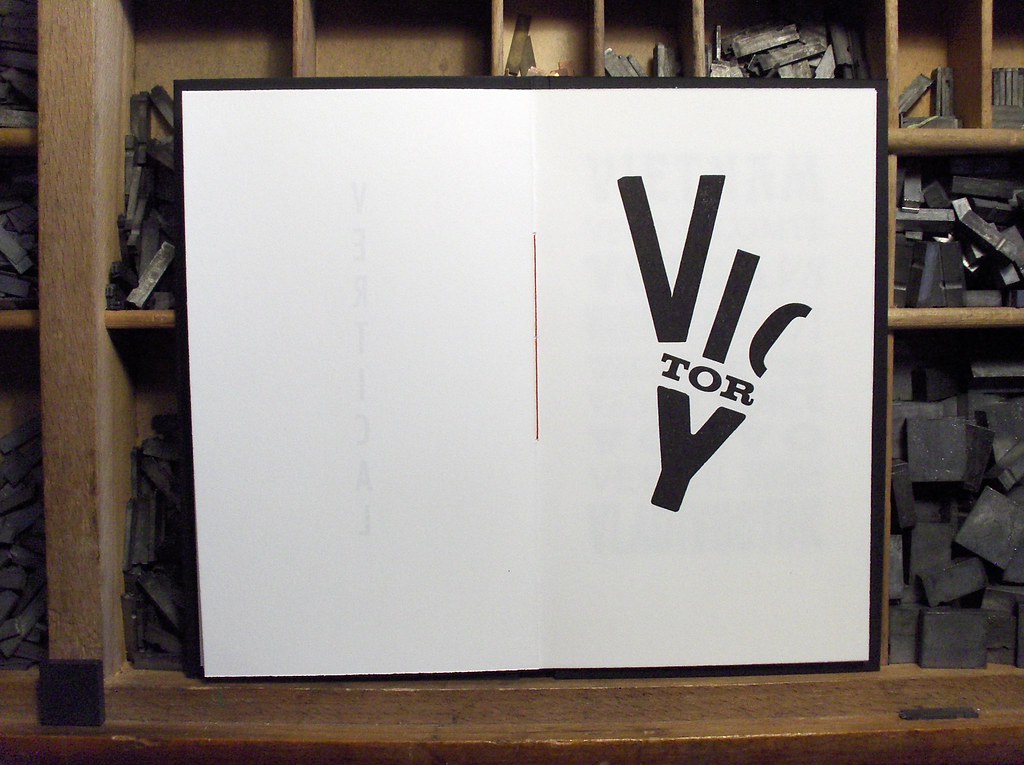
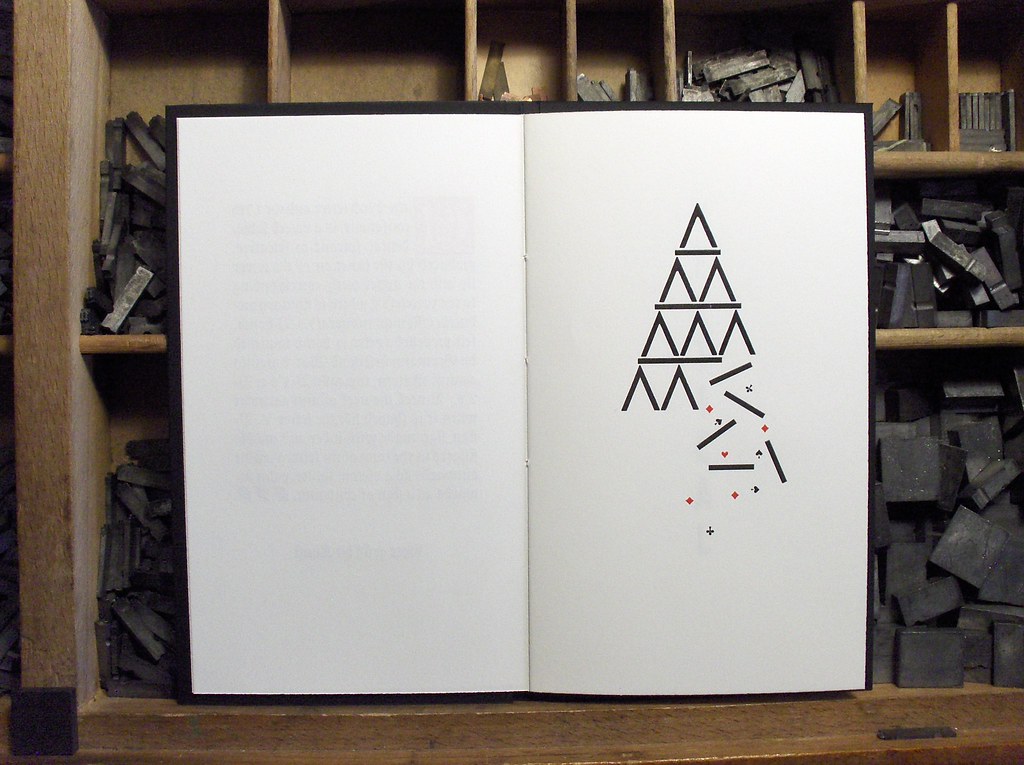
I was honoured to be included in Jens’s mailing list of his recent Christmas work ‘a play with V’ featuring the use of some intricate formes of locked type on the cover and pages. Above is the forme for just one of my favourites, the house of cards, using brass rule and Victory 
You can see more pictures on Bogtrykkeren’s Flickr photos HERE
Are you inspire to have a play?
There are no rules start simple like this one here or go crazy like this one here and this one or this get more technical. If you are new to letterpress just follow the tip below and HAVE FUN!

LETTERPRESS TIP
When you tighten your quoins, tighten each one a little a time starting with the outside ones first (if using more than 2 quoins) and working in, alternating between each one. Don't just tighten one quoin up as tight as you can before moving to another and don't over tighten or you might find your forme lifting and springing outwards. To test wether your forme is locked up tight enough, gently lift your chase a LITTLE, if there's one little bit just not holding, loosen your quoins and add a metal thin or card, tighten your quoins again, repeat until it holds.

The really crazy ones are best done a flat bed press (less chance of things dropping out) but it still works on a platen. More inspiration in the group pool Letterpress Forme on Flickr

2.9.10

printing tip


This is a simple tip that you can use on any size of Letterpress, even an Adana 5x8, I use this all the time for small and even big jobs on the Farley proofing press. I don't think I've ever mentioned it before but thought beginners might find it useful.
Shown above is some type locked up (forme*) in a small chase off an Adana 5x3 which is then locked up in an even bigger chase, if you collect several of the small chases you can save your compositions that you want to keep, locked up and ready for immediate use, great for something like your business cards and they are pretty cheap to pick up too.


*A forme in letterpress printing – also known as a lockup or composition – is an arrangement of printing material and accompanying spacing material from which prints are made. The main goal of the arrangement is to keep the type and other printing material firmly in place throughout printing.

12.4.10

Letterpress Specimen French Audebaud


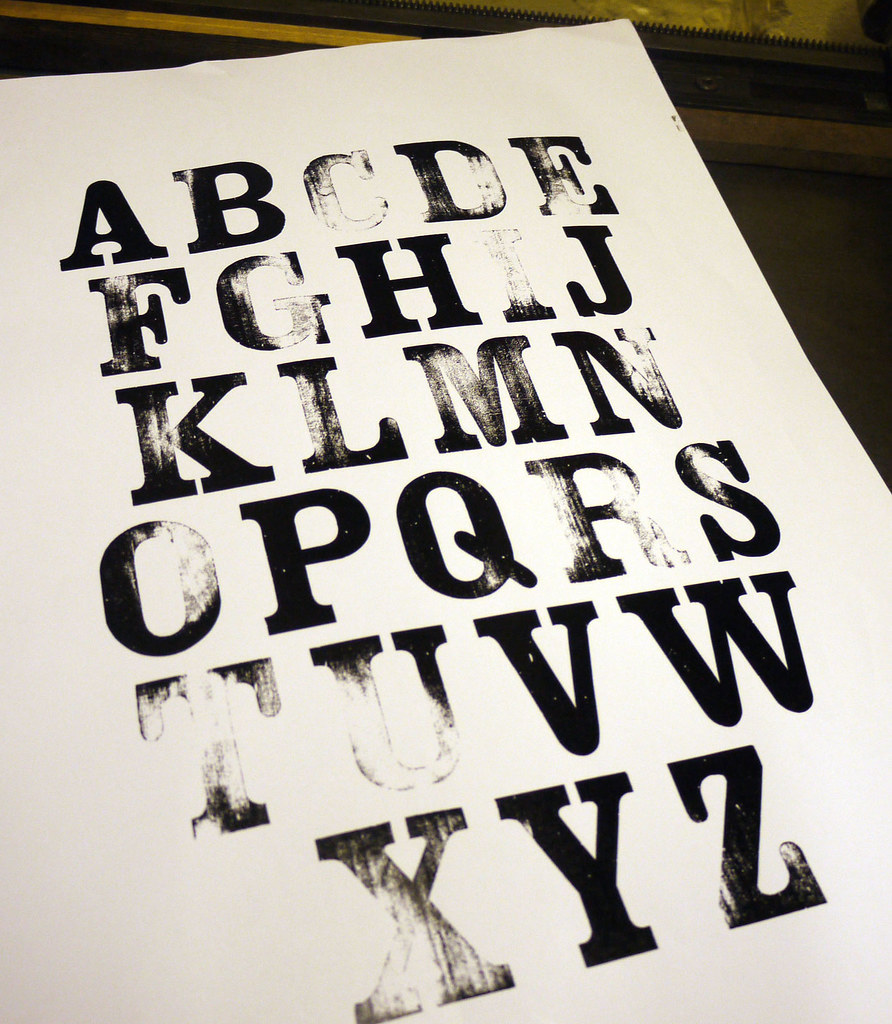
During the cold winter months I promised Matt Desmond of MADtype a Letterpress type specimen of my 12 line French Egyptian in return for the digitised version he designed, well I finally got round to it and discovered in the printing that someone had attempted to clean up the type so much (probably sanding) that I got this results...
So after lots of make-ready I finally achieved a half decent print, though I'm probably going to have to give the wood type a coat of shellac to seal it as it was soaking up the ink! For those who want to know what make ready is you add small amounts of tissue, in layers, to the back of sort (letters) a their weakest point, you can also try replacing individual letters. Their is a more in depth article on the Happy Dragon Press Website who also sell Make Ready tissue, I actually used ripped newsprint for mine as it was so bad. Here's Matt's print in black as requested


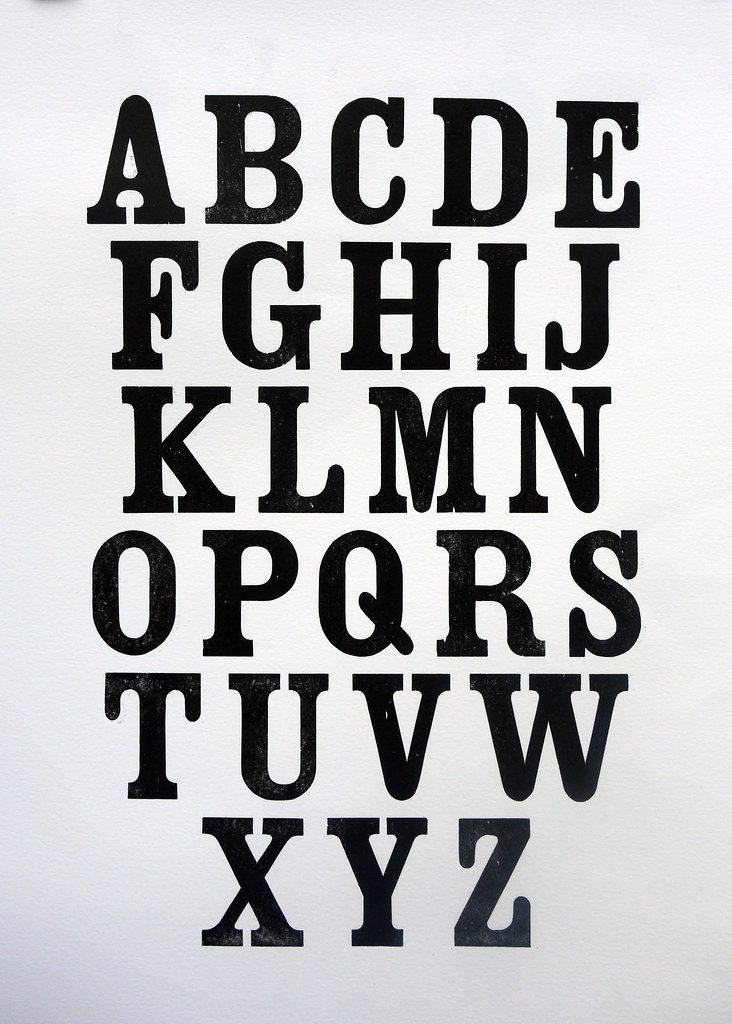
Here's Matt digitised version, pitty I don't have a lowercase! He's done a great job don't you think? I particularly like the lowercase "j" and "y" and the teardrop counter in the capital "A" makes me go weak at the knees :)


There's a makers mark on the wood type which is hard to see never mind photograph, which reads AUDEBAUD BRESSUIRE (2 SEVRES)
Matt did some sleuthing and found out that the person who created it was named Constant Audebaud. He worked as a wood type engraver in the 1880s in the Bressuire subprefecture of the département of Deux-Sèvres in France hence the name Audebaud, only fitting he named his type this don't you think?

Audebaud is available here

27.3.10

Emma Case Photography


The lovely, bubbly Emma asked me to print some CD cases for her photography, she loved the idea of them printed on brown craft card as she's eco friendly like me, we really struggled to find Cd cases in craft card in the UK so we ended getting some from STUMPTOWN PRINTERS. I did look into getting some made but this was going to be small print run of a 100 so not feasible unless I wanted a 1000. I say a small print run :) big to me!! 3 colours my biggest print run yet!
Emma already had designed her artwork but I tweaked it a little changing a few of the fonts, especially the 'BABIES' as the thin stroke could cause some problems in inking and the plate making. The 16 gauge type high mounted plates came from Centurion and for those who are unsure about the making and sending of files I've outline my process below...
Logo drawn to size in Illustrator CYMK and fonts outlined, a thin red stroke was added 6mm away from the edge of the type, to allow room to grip the plate in the making process. The logo was then copied 3 times and the corresponding colours left on each plate, all the outlined type was then changed to 100% black. The thin red stroke was left red to show where I wanted my plates to be cut, doing it this way would help with registration as all the blocks would be exactly the same size. allowing all the furniture in my forme to remain and I just changed the plate.
  1. Make sure you are working in CYMK and not RGB so your black is 100% black
  2. Make your artwork the required size, charges may occur if you want it made bigger or smaller
  3. Give clear instructions with your design and speak to your plate maker, they are very helpul and won't bite :)
  4. If possible use a program like Illustrator, InDesign, CorelDRAW etc for type, it is possible to send files done in Photshop but make sure your files are 1200dpi.
  5. Make sure all your files are outlined or rasterized.
  6. Thin lines - keep them to a min of 2 pt
  7. PDF is the best format to save and send your files, other formats are accepted such as jpegs, eps, tiff
Printing on my Kelsey went like a dream apart from I had to add tape to my roller bearers and file down the corners of my plates as the rollers were catching, though this was down to the block being slightly higher than type-high. I didn't even need to alter anything for registration I'll post the results here as soon as Emma has received her parcel ;) she was a dream to work with and check out her fantastic retro work, just love the Photo Booth idea, sooo much fun ;-) http://emmacasephotography.blogspot.com/

19.1.10

Impression scews


Most of the time I print on my Kelsey I manage to get the impression right pretty quick but trying to print my new plate for the back of my cards proved to be a right pain! I had the plate landscape then portrait just to check it if it needed any make ready tissue on the back as it kept missing ever so slightly in one corner, changed my packing, but no it wasn't that, just hadn't got my impression screws just right, when all else fails and it still won't print right, take a break, back off the impressions screws and start again, you'll get there in the end :)
There's a problem with the Kelsey Excelsior when you start on a long print run, after a while the impression screws will just slightly move, messing up the impression, common problem I believe and some people have resorted to replacing the screws at the back with bolts and washers!

25.11.09

Position and register with homemade lay gauges

Your form is all locked up, done all your makeready and got your impression just right! (That's the hard bit!) Now your ready to print, but how do you get it to print in the right place?
  • If you have an Adana you will have a lay bar on the bottom of your platen which will support the bottom of your paper or card, my Kelsey or QFB doesn't have one, but you will still need a gauge for the side to position your paper. Originally Lay or Gauge Pins where used and still are by some printers, I have tried to use them but found them a bit of a pain so I use this method instead, quick and easy! First I attach a sheet of tracing paper or transparent film to my top sheet by putting a piece of masking tape across the top (see top photo) I normally use transparent film as you wipe the ink off and use again but couldn't find it at the time (I must get more organised :) next take an impression (spot my typos! I was a bit tired at the time!)

  • Now you need to make a lay gauge, I use a strip of 3pt lead, attach some double sided sticky tape to one side, then take a THIN piece of card, similar in size to your lead, and stick this to the opposite side, again with double sided sticky tape. You'll notice in the photo above that the card has a slight overhang, this will keep your paper in place and act as guide to slide your paper under
  • Next slide your pre-scored card or paper under the transparent film and line up with the impression, on the Adana adjust the bottom lay bar first then lightly attach a side lay gauge, when your happy with the position then make sure the gauge is stuck down firmly. If you are going to be feeding the paper from the right you'll need to place a lay gauge on the left and make sure the card overhang on the lead strips doesn't interfere with your print area.
Happy Dragon Press has an article on using Lay Quads and lots of other great printing tips on its newly designed website, well worth a visit. There's also some quizzes to test your knowledge in which I did well in the Beginners but failed miserably in the Spacing Sums!
Everyone develops there own methods snap& tumble uses picture corners, anybody else have a different method?

16.7.09

Printing with large wood type or large areas of solid colour on a table top press

click on pic for closeup of paper
I ordered some pre-scored cards from Eco-craft so I've been a doing a bit of practise printing while I wait for my spacing for my 100s of wooden letters. The "!" needs some make ready but I got great results on some 300g White Straw 100% recycled (waste straw clippings cut in the South East of the UK) also available in cream, it's a lovely, soft and puffy card that will give a fairly deep impression if you want one. The size of the type was 10 line which in metal letter terms is 120pt!!! 12pt = 1 line, wooden type is measured in lines and metal in points. (I've got an old type scale for this otherwise I wouldn't have a clue!)
The guy at the back is an old engraving I found in my cabinet but I need some really good smooth paper to get a good print!

TIPS FOR PRINTING WITH WOODEN LETTERS & SOLID COLOURS

Yup! I had to start printing with the hardest thing, wood letters, especially on a small press! Here's s few tips to use on a small hand press for printing large areas of colour.

  • Double ink your form before you print.
  • Overprint, do a double impression, but make sure it doesn't go out of registration.
  • Don't try and print too much at once, a 1/2 or max 1/3 of the size of your chase is the recommend printable area on a platen press.
  • Split up your text (landscape) to the depth of your circumference of your rollers, then you won't get a ghosting effect. Same goes for plates too.
  • Use softer packing.
  • Dampening paper (read Brier press discussions)

15.7.09

Adana Manual & Instruction FREE downloads


Brier Press have put up a new download section containing press manuals and also the Printing made easy book for you to download for FREE! http://www.briarpress.org/14558
It's also a great website for help and advice and I've noticed alot more adana posts appearing lately!
Related Posts with Thumbnails