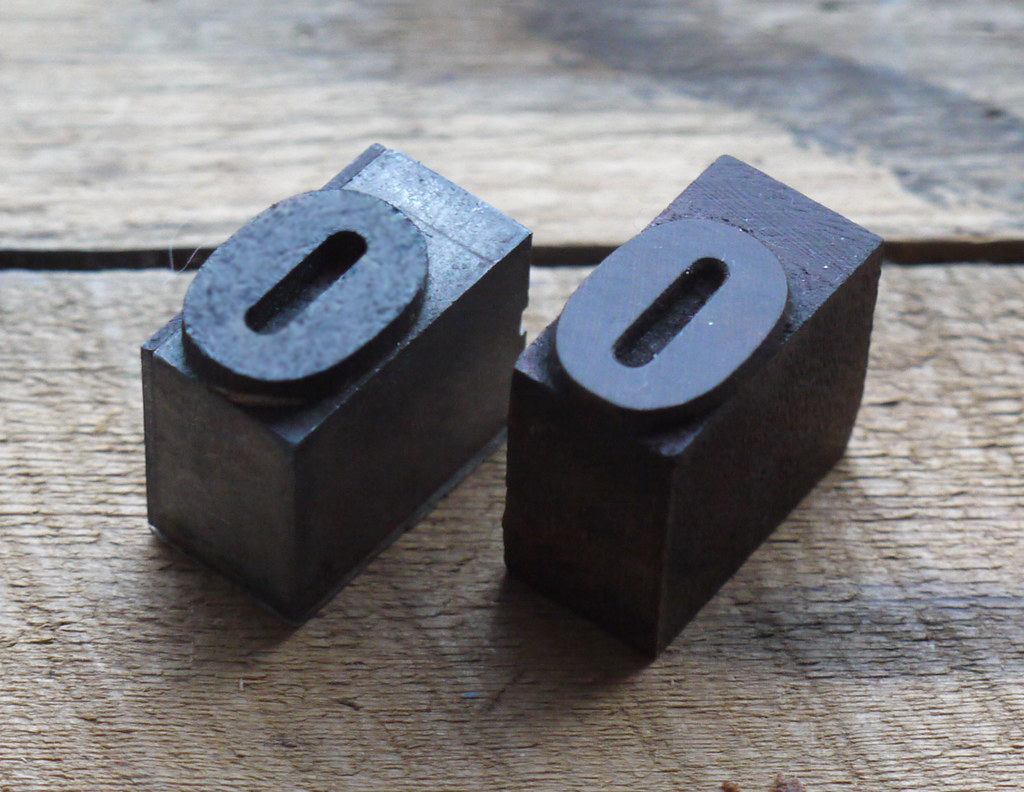
First attempt at laser cutting type using 3mm MDF. Scanning a print of an original lowercase 'o', I then made a template in Adobe Illustrator using a thin hair line. When laser cutting a hairline is a cut, solid areas work as rasters and etch, cutting being the quickest method. The ‘o’ was then mounted on a En space and backed up to type high with a thin piece of card.
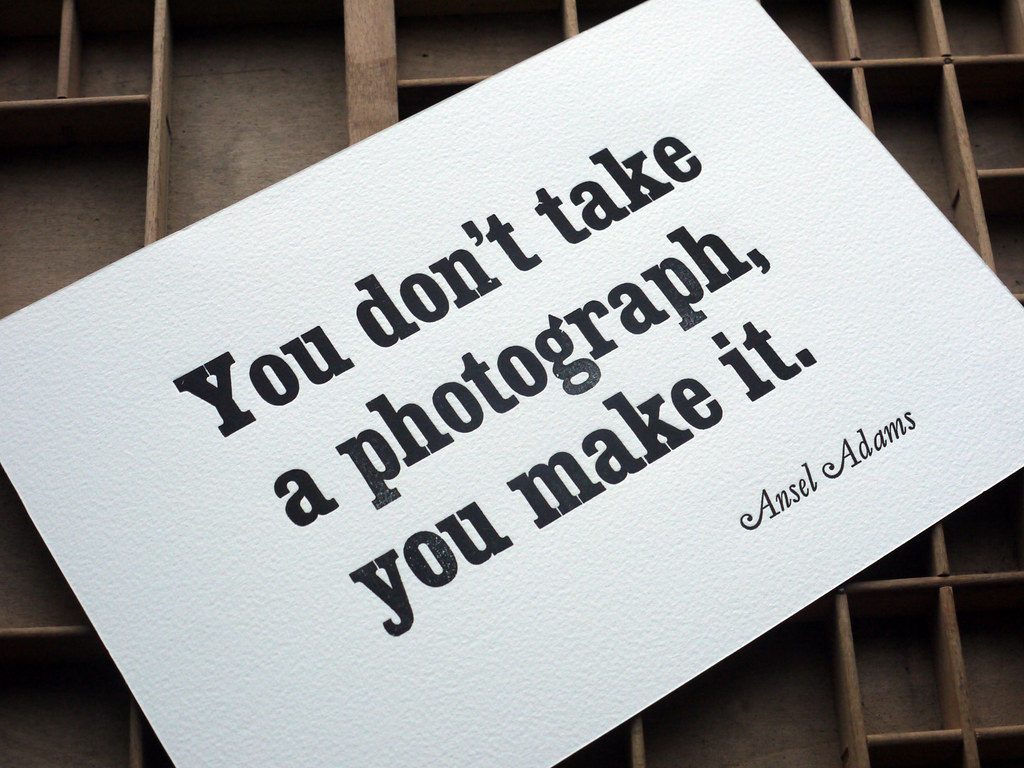
MDF is not a good choice as the surface goes slightly rough when ink is applied, but after the ink has dried and sealed the surface, a light sanding will render it smooth. Overall this worked a treat when I needed an extra 'o', the laser cut one is on the bottom line of text and if you look at the larger view it has printed not as well as the others.
But all that said I didn't want the print to be perfect as I actually like the imperfections, being a bit of a perfectionist it would be easy for me to apply more make ready on the type, for instant the lowercase 'g' could have done with some, to actually walk away is harder for me. That's what I love about letterpress and wood type (like it or not) is the imperfections and one day at a time it is helping me to loosen up in my approach to design and art.


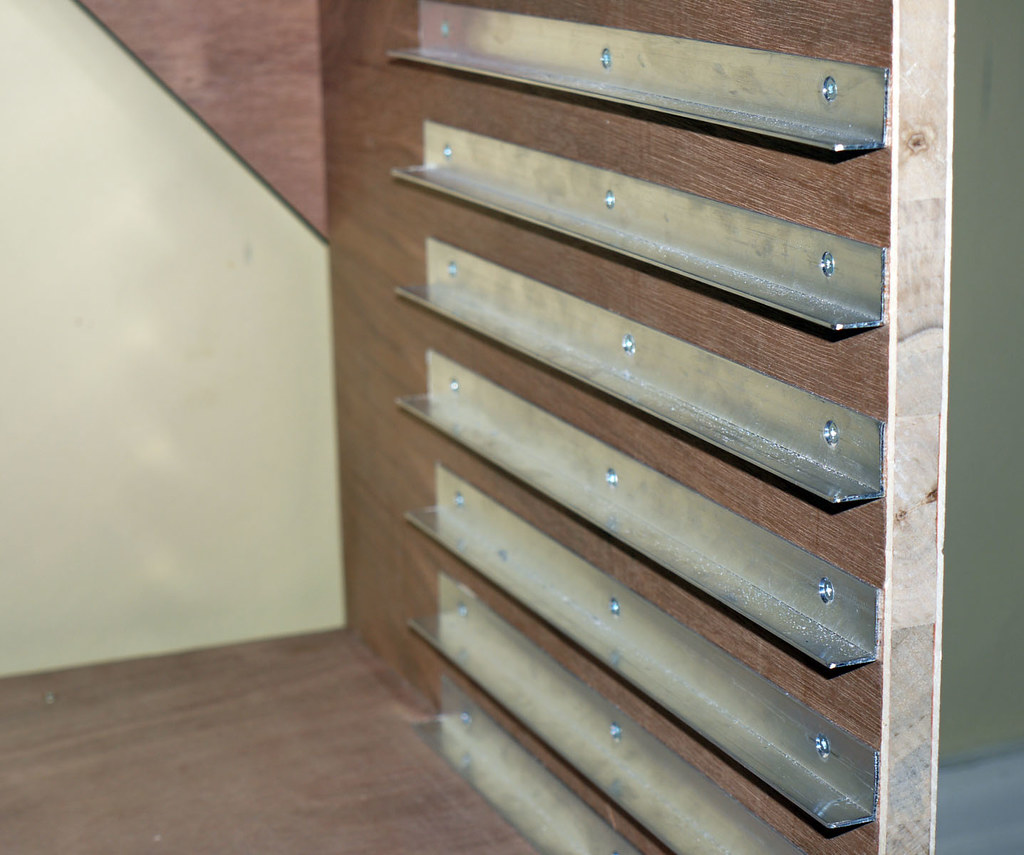
Second attempt for a project at uni this time using 3/4" oak veneered MDF. In this case the images where etched by making a solid template in Adobe Illustrator. This process takes an awful lot longer that just cutting. The very large manicule 32 line by 72 ems (134mm x 300mm) took 45 mins per etch and it took 4 etchings to get a 2mm relief. Would have like a much deeper relief but ran out of time, the ‘off the’, about half the size, took 20 mins per etch. Again these will need backing up to type-high but the oak veneer will give a better printing surface. After etching I then had to cut the blocks to size on a table saw, the laser cutter tends to burn the wood when cutting (you actually get a small flame ) and as the cut at some points meets your image there is a chance that you will ruin your block.
In conclusion sourcing type-high wood is the major problem but for one off projects and missing letters I don't find having to back up to type high a problem. The etching process proves best for detailed images but takes the longest but if I could source hardwood that was 3mm I would use the veneered method for my missing wood letters. as this is the quickest method. Bethany Heck at End grain (link below) shows a detailed method on how you could make the blocks to mount your veneered letters.
It is also very easy to produce missing letters using polymer or lino but as I had the use of a laser I wanted to experiment with wood.
The Rob Roy Kelley has a section giving details on the different methods on how wood type was produced which you can view
hereHere's some links in which moveable type has created using a laser cut method.
If there are any other links that could be added to this list, feel free to leave a comment...
Like it or not polymer plates have made a ‘impression’ on the letterpress world, will be interesting to see what lasers bring to the table in the future. There's an interesting article on Woodtyper which you can read
here